






Blog
Suspended ceilings – types, construction and step-by-step installation

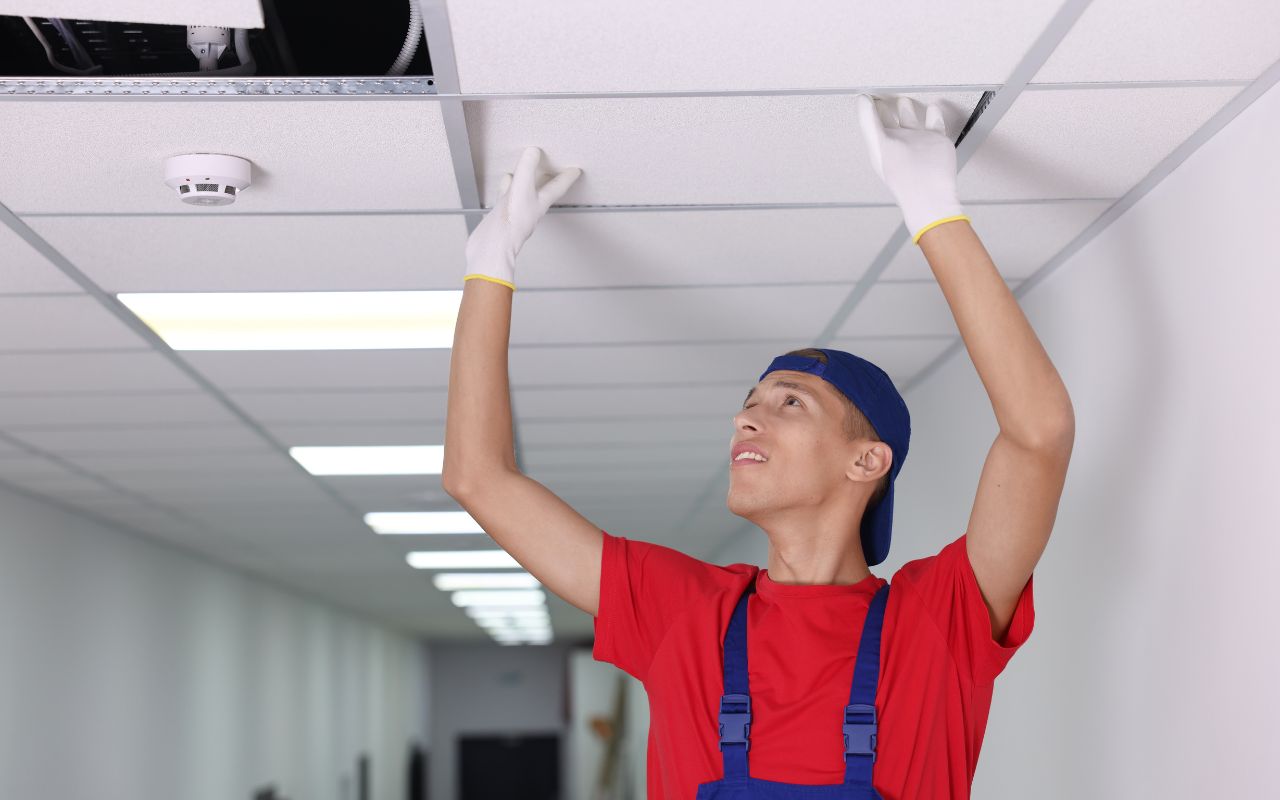
A suspended ceiling is now standard – it conceals services, improves acoustics and offers scope for creative lighting solutions. In this guide, you’ll learn how to build one from scratch: from choosing the system, through selecting profiles and plasterboard, to step-by-step installation and approximate costs. Read on to find out the key information!
Key findings
- A suspended ceiling allows you to conceal services, level the ceiling and improve the aesthetics of the interior.
- The construction of a suspended ceiling is based mainly on CD and UD profiles, hangers and plasterboard panels.
- Filling the space with mineral wool improves the room’s acoustic and thermal insulation.
- Use impregnated boards in bathrooms, and fire-resistant boards in areas with stricter fire safety requirements.
- The cost of materials is usually around 35–57 zł/m², whilst the total cost, including installation, depends on the complexity of the structure.
- You can install a simple, single-level ceiling yourself, provided you level the structure accurately and fit the plasterboard carefully.
Table of contents
Suspended ceilings – what are they and why are they worth installing?
A suspended ceiling is an additional layer of ceiling suspended from a metal framework made of profiles, separated from the actual ceiling by a gap of a few to over a dozen centimetres. This gap serves as a service space where you can conceal cables, pipes, ventilation ducts and heat recovery units, whilst achieving a smooth, aesthetically pleasing ceiling regardless of what lies above it.
In a typical flat in a block of flats, where the ceiling is uneven or pipes and beams are visible, a suspended ceiling made of plasterboard is the quickest and cheapest way to achieve an attractive finish. It does not require removing plaster, running cables on the surface or costly bricklaying work.
Key benefits at a glance:
- conceals the electrical, ventilation and heat recovery systems,
- levels out unevenness in the ceiling without chiselling or plastering,
- opens up possibilities for acoustic and thermal insulation,
- offers the possibility of decorative effects – LED lighting, recesses, alcoves,
- makes it easier to access the system during future repairs – without having to break open the walls,
- It enhances the visual appeal of the interior at a relatively low cost.
When is it a good idea to install a suspended ceiling?
A suspended ceiling is particularly suitable if you have an old ceiling with unevenness of more than 2 cm, want to conceal central heating pipes, electrical wiring or ventilation, are looking for better acoustics (in a block of flats or an office), or are planning to install recessed lighting – spotlights or LED strips.
However, this isn’t always worth it. If your room has a clear height of less than 230 cm, losing a further 8–12 cm might make too much of a difference in day-to-day life – in which case, consider an alternative, such as a stretch ceiling, which takes up less space.
Suspended ceilings versus stretch ceilings – which should you choose?
This question comes up with virtually every renovation project. The short answer: if you’re doing it yourself and don’t need 3D effects, plasterboard wins on price and availability of materials. A stretch ceiling is worth considering for very unusual shapes or mirror effects.
| Feature | Plasterboard ceiling | Stretch ceiling |
|---|---|---|
| Cost of materials | 50–90 PLN/m² | 80–200 zł/m² |
| DIY assembly | Yes, that’s possible | No – it requires a specialist |
| Shelf life | Very high | High |
| Moisture resistance | It depends on the board (impregnated) | High |
| Aesthetic possibilities | Standard | Very large (3D shapes) |
| Installation time | 1–2 days (DIY) | A few hours (the team) |
Conclusion: for DIY projects and standard rooms, a plasterboard ceiling is unrivalled in terms of price, availability of materials and the ability to install it yourself. Let’s leave stretch ceilings for high-impact projects where budget is not a priority.
When is a suspended ceiling compulsory, and when is it optional?
Virtually essential: in kitchens and bathrooms with heat recovery or mechanical ventilation, in offices and commercial premises (fire safety regulations, installations), and under uninsulated roofs and in attics.
Optional, but very useful: in living rooms (rear-mounted lighting, LED), bedrooms (soundproofing), hallways (concealing wiring).
When to let it go: Very low-ceilinged rooms under 2.5 m – every centimetre counts. A standard plasterboard ceiling construction will lower the ceiling by at least 7–10 cm (profile + board), and with noniusz hangers by as much as 20–30 cm if more services need to be concealed.
Types of suspended ceilings – an overview of systems
A suspended ceiling made of plasterboard – the most popular solution
A plasterboard system is by far the most common choice in Polish houses and flats. The principle is simple: a metal framework made of CD and UD profiles, suspended from hangers screwed to the ceiling, to which the plasterboards are fixed with screws every 150–200 mm.
As part of our quality standard at the PK Complex store, we offer genuine KNAUF system products – renowned for their accurately specified parameters, precise profile dimensions and comprehensive technical documentation. KNAUF materials are compatible with one another, which eliminates any surprises on site.
- Advantages: low cost, suitable for DIY projects, easy to work with and cut, an excellent base for painting.
- Disadvantages: standard plasterboard cannot withstand damp (waterproof plasterboard is essential for bathrooms), and the joints need to be filled.
- Suitable for: living room, bedroom, hallway, office – practically any dry room.
Acoustic suspended ceiling – when do you need soundproofing?
There are two ways to improve the acoustics in a suspended ceiling – and it is worth combining them:
- Filling the space between the ceiling and the plasterboard panels with mineral wool reduces the transmission of impact noise (footsteps, moving furniture) and airborne noise (conversations, the television). Even a layer of just 5–10 cm significantly improves comfort at no extra cost.
- Special perforated acoustic panels (e.g. Knauf Cleaneo) – absorb sound in a room and improve reverberation. Ideal for studies, children’s bedrooms and recording studios.
With the ceiling structure already exposed, adding mineral wool is a low-cost solution that makes a big difference – don’t skip this step if you have neighbours living above you.
A curved, multi-level suspended ceiling – how do you go about it?
A two-level ceiling (with a lowered section or recess) creates a visual effect that allows you to define different zones, conceal recessed LED lighting and add character to your interiors. It is more difficult to install, but certainly possible for an experienced DIY enthusiast.
- Multi-level ceiling: UD profiles fixed to the wall define the level of each tier, whilst CD profiles form the load-bearing ribs for the panels.
- Curved ceiling: UD profiles, scored every few centimetres (every 2–5 cm for tight curves), can be bent into any shape; plasterboard scored from the underside allows the curves to be smoothed out.
- The minimum width of the lowered section: 30–40 cm, to maintain the proportions and leave space for the light fittings.
Important: A curved ceiling is an advanced project. If you haven’t installed a straight plasterboard ceiling before, start with that. Levelling errors are much harder to rectify with curved shapes.
A suspended ceiling in the bathroom – which materials should you choose?
The bathroom is a damp area, so the rules are stricter:
- The board must be impregnated (GKI/GKBI): Using standard plasterboard in the bathroom is a mistake that will come back to haunt you after 2–3 years in the form of mould and crumbling plaster. The price difference between standard and impregnated plasterboard is just a few zlotys per m². Find out more Knauf impregnated board in our shop.
- Profiles and hangers: Standard galvanised steel profiles are suitable; avoid cheap profiles without anti-corrosion protection.
- Sealing: It is advisable to seal the joints between the UD profiles and the wall and ceiling with sealing tape, particularly around the shower and bath.
- Ventilation of the space: Plan for access hatches or ventilation grilles if there is mechanical ventilation or an extractor grille beneath the ceiling.
The structure of a suspended ceiling – what it consists of
To buy the right materials, you need to know what the structure consists of. A suspended ceiling is made up of three layers: perimeter profiles, a load-bearing grid and plasterboard cladding. From top to bottom: load-bearing ceiling → hanger screwed to the ceiling → CD profile suspended from the hanger → plasterboard panel screwed to the profile. The UD profile runs around the entire perimeter of the room like a frame and provides a support point for the CD profiles.
Understanding the design of this suspended ceiling is essential to ensure you don’t pay too much or buy the wrong amount of material.
CD and UD profiles – how do they differ and how many do you need?
UD 28×27 profile – perimeter profile, fixed to the walls around the edge of the ceiling; forms a frame and a support for the CD profiles. U-shaped cross-section. Check UD 28×27 profile in our shop.
CD profile 60×27 – the main load-bearing ceiling profile, which is inserted into the UD and suspended from hangers; C-shaped cross-section. The plasterboard panels are screwed onto this profile. Standard: sheet thickness 0.6 mm, length 3 m or 4 m. Spacing between CD profiles: as standard, every 500 mm (for 12.5 mm boards); for heavier loads or longer spans – every 400 mm. You can buy it directly from our shop – take a look: CD profile 60×27.
How many UD profiles do you need?
Calculate the perimeter of the room (in metres) + 10% allowance = running metres of UD profile.
How many CD profiles?
Room width / 0.5 m) × room length + 10% allowance. Example: a room measuring 4 x 5 m = 8 rows of CD x 5 m = 40 running metres of CD profile + 10% = ~44 running metres.
Direct and vernier hangers – when should you choose which one?
Direct hanger (colloquially: claw, ES hanger) is a steel strip with flanges, fitted directly into the ceiling. The CD profile is bent to form the flanges. Spacing: every 1 m along the centreline of each CD profile. Use this when the space between the floor and the ceiling is up to approx. 12 cm.
Vernier hanger – a two-part system that allows the ceiling to be suspended at any height (up to approx. 100–110 cm from the floor slab). Essential when you need to conceal thick pipework or level an uneven ceiling with significant variations in height. Find out more vernier hanger — upper part available in-store.
Profile connectors – types and applications
Cross connector for CDs Connects two CD profiles at right angles (or on the same level in two-row systems). Allows you to create a grid of profiles without welding or drilling. Essential for panels laid at right angles to different rows of CD profiles or for multi-level ceilings. Buy CD cross-connector together with the profiles.
Plasterboard for ceilings – standard, impregnated or fire-resistant?
Standard board (GKB): For all dry rooms – living room, bedroom, hallway, office. A thickness of 12.5 mm is standard for ceilings; it is easier to work with and lighter than the 15 mm version. Find out more a standard Knauf board in our shop.
Impregnated board (GKBI/GKI, green marking): Essential in the bathroom, kitchen and wardrobe. The waterproofing agents in the core prevent moisture absorption.
Fire-resistant board (GKF, marked in pink): Used in areas requiring a higher level of fire resistance – stairwells, evacuation corridors, and chimney linings. Not usually required for ceilings in flats.
Weight of a 12.5 mm panel = approx. 9.5 kg/m². For an area of 20 m², the ceiling weighs approx. 190 kg – make sure the hangers and ceiling structure can support this (the standard load-bearing capacity of 0.5 kN/m² for a KNAUF ceiling structure corresponds to 6–7 plasterboards per hanger).
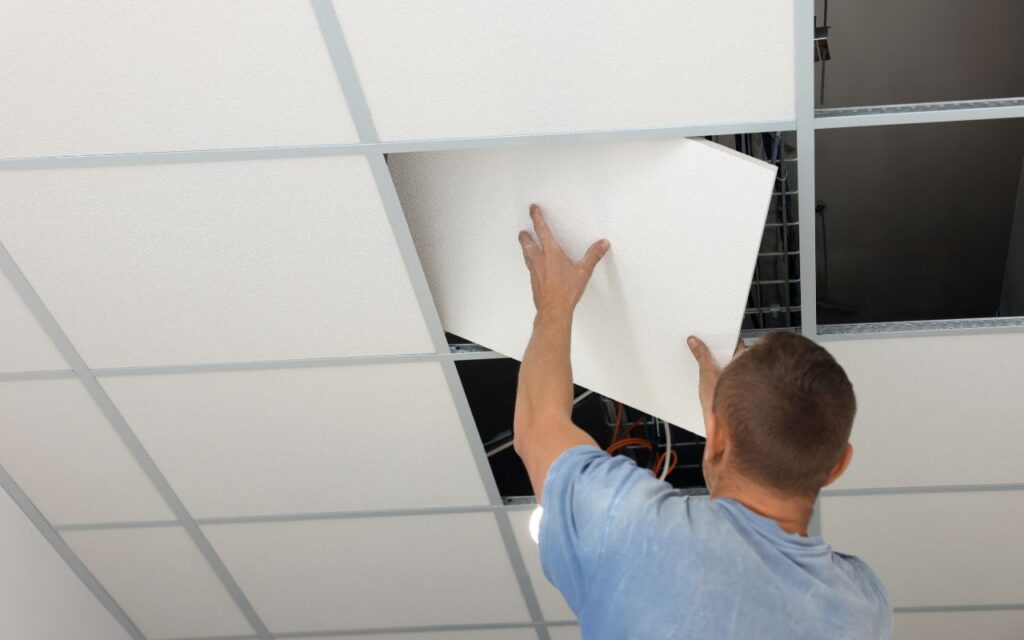
Step-by-step guide to installing a suspended ceiling
You’ll find a full, detailed guide in the article How is a suspended ceiling made of plasterboard installed, and how long does it take?. Below, we have set out a step-by-step guide to what you need to know before you start work.
Step 1: Levelling and fitting the UD profiles
- Determine the ceiling height, taking into account the thickness of the board (12.5 mm), the CD profile (27 mm) and the hanger (approx. 30–50 mm for a direct fix). Minimum drop from the floor slab: ~7–10 cm.
- Mark out a horizontal line on all the walls using a laser or spirit level. This is the most important step – any error here will affect the entire ceiling.
- Screw the UD profile in place along the marked line every 50–60 cm. In concrete: 6 mm expansion plug; in brick: 8 mm.
Step 2: Fixing the hangers to the ceiling
- Mark the axes of the CD profiles on the ceiling – every 500 mm (or 400 mm for heavier loads).
- On each axis, mount hangers approximately every 1,000 mm, with the first one no more than 200 mm from the wall.
- In concrete: an M6 metal plug or a bracing plug. In a timber floor: a 5×60 mm wood screw.
- Bend the direct hangers downwards after fitting – the wings will act as brackets for the CD profile.
Step 3: Fitting the CD profiles and levelling them
- Slide the CD profiles into the UD profiles on both sides of the room.
- Hang the profiles on the hangers – for direct hanging: bend the flanges round the profile and fold the protruding parts upwards.
- Level each profile using a string stretched between the ends or a laser level.
- Fit the cross-connectors where the profile axes intersect or where an additional section is to be joined.
Step 4: Fitting plasterboard – how to cut and fix it?
- Cutting plasterboard with a utility knife and by snapping: make a deep cut along the line, snap the board on the edge of the table, then cut through the paper on the underside.
- Lay the first rows of tiles starting from the centre of the room, not from the wall – the joints should not fall on the centreline of the profile.
- Use 3.5 × 25 mm self-tapping screws, spaced 150–200 mm apart at the edge and 200 mm apart in the centre of the board. The screw head should be slightly countersunk (approx. 1 mm), without piercing the cardboard.
- Gap between panels: 1–3 mm around the perimeter and between panels – the materials expand and contract. Do not press them against the wall.
As a guide: a 120 x 260 cm panel on the ceiling weighs around 30 kg. Fitters use special panel hoists – if you’re doing it yourself, you can make a makeshift hoist out of T-shaped planks or ask someone else for help.
Step 5: Filling the joints and finishing the ceiling
- Apply a first coat of filler (KNAUF Fugen or Uniflott) to the joints and screw heads.
- Stick some mesh or paper tape into the joints – this prevents them from cracking once dry.
- Once dry (at least 24 hours), apply further thin layers of the compound – sand until the surface is smooth.
- The final step: applying a primer, then painting. A good-quality, opaque latex ceiling paint will do the job in two coats.
How much does a suspended ceiling cost? Materials and labour
Cost of materials for a plasterboard suspended ceiling – calculator
Approximate material costs for a standard plasterboard ceiling in a dry room (CD profile every 500 mm, 12.5 mm board, direct fix hangers):
| Material | Consumption per m² | Unit price. | Cost per square metre of ceiling |
|---|---|---|---|
| CD profiles 60×27 (every 500 mm) | ~2 mb/m² | ~3–5 zł per metre | ~6–10 zł/m² |
| UD 28×27 profiles (circumference) | district / county. | ~2–4 zł/mb | ~1–3 zł/m² |
| Direct hangers (every 1 m) | ~1 piece per m² | ~0.50–1 zł per item. | ~0.50–1 zł/m² |
| 12.5 mm standard plasterboard | ~1.1 m²/m² | ~20–30 zł/m² | ~22–33 zł/m² |
| Screws, tape, filler | lump sum | — | ~5–10 PLN/m² |
| TOGETHER (materials) | — | — | ~35–57 PLN/m² |
Prices are indicative. For orders of more than several dozen square metres, it is worth asking about a discount – at PK Complex, we allow for price negotiations.
Labour costs – how much does it cost per square metre of plasterboard ceiling?
The labour cost for fitting a plasterboard ceiling in Poland is approximately 40–80 zł/m² for a simple, single-level ceiling. For multi-level or curved ceilings, the rates rise to 80–150 zł/m². On top of this, the cost of filling and painting is added: a further 15–30 zł/m².
The total cost of materials and labour for the entire ceiling in a 20 m² room is therefore in the region of: approx. 1,700–4,400 PLN, depending on the complexity of the project, the region and the contractor.
How can you save money on a suspended ceiling without compromising on quality?
- DIY assembly of the structure – the trickiest part is levelling the profiles; the rest is a repetitive craft that can be learnt from a single project.
- Don’t skimp on the profiles – a cheap 0.4 mm profile will bend under the weight of the boards, and this will become apparent after a year. The KNAUF 0.6 mm CD profile costs only a little extra, but it eliminates this problem.
- Buy all your materials as a complete set – at PK Complex, you can order CD and UD profiles, hangers and panels all in one place, saving you time and transport costs.
- Filling the edges of the panels (rather than the entire surface) – if the installation has been carried out properly, you do not need to fill the entire panel, just the joints and screw heads.
FAQ – frequently asked questions about suspended ceilings
By how much is a suspended ceiling made of plasterboard lowered?
The minimum drop with a direct hanger is approx. 7–10 cm (approx. 3 cm for the ES hanger + 2.7 cm for the CD profile + 1.25 cm for the panel + 0.5 cm clearance). If you need to conceal thicker services or level out significant unevenness in the ceiling, vernier hangers allow you to lower the ceiling by 20–110 cm from the existing ceiling.
Can you fit a suspended ceiling yourself?
Yes, and many people do this without any prior experience in building work. The key elements are ensuring the UD and CD profiles are perfectly level (a laser spirit level is a great help) and having patience when filling the joints. You can learn how to install a simple, single-level ceiling from just one project.
How much does a suspended ceiling made of plasterboard weigh?
A 12.5 mm plasterboard panel weighs approx. 9.5 kg/m². The total weight of the ceiling (panel + structure) is approx. 12–15 kg/m². For a 20 m² room, this amounts to approx. 240–300 kg – the requirements for typical concrete and timber ceilings are met with a substantial margin.
Does a suspended ceiling let sound through?
A plasterboard ceiling on its own, without insulation, reduces airborne noise only slightly. To achieve a significant improvement in sound insulation (a reduction of 10–20 dB), the space must be filled with mineral wool at least 5 cm thick.
How do you install LED lighting in a suspended ceiling?
The most popular solutions are:
- recessed lights (downlights) – you cut the holes using a circular saw or a hole saw, and the cable is routed before the boards are fitted;
- LED strip in a milled profile groove or in a recess built from plasterboard – backlighting effect;
- A standard recessed or surface-mounted ceiling light – the simplest solution.
Run the electrical cables through cable trays or conduit before screwing the panels in place – you won’t be able to access them afterwards.


A really useful article, just the thing for anyone wanting to fit a suspended ceiling, as I’ve always wondered where to start